Northern Lights Photography on the Lofoten Islands: Top Spots and Insider Tips from a Pro
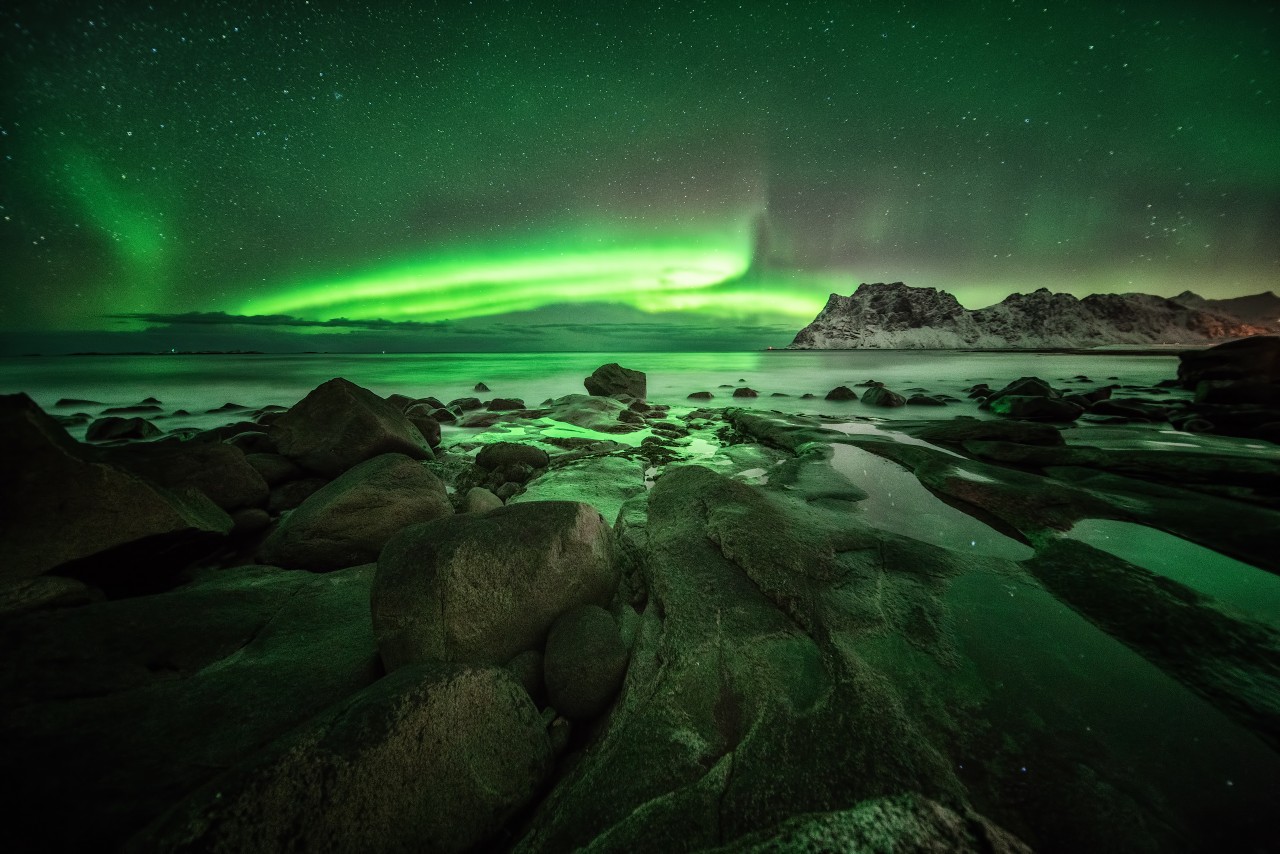
Shoot Northern Lights Like a Pro!
Jens Klettenheimer Tells Us How it's Done
Jens knows the polar islands in the north of Norway like no one else. For many years he has been leading photo trips on the Norwegian archipelago. Jens has also published a travel guide for Lofoten photographers. In this blog story he reveals many expert tips on how to best prepare and which gear to bring on your photo trip in the far North.
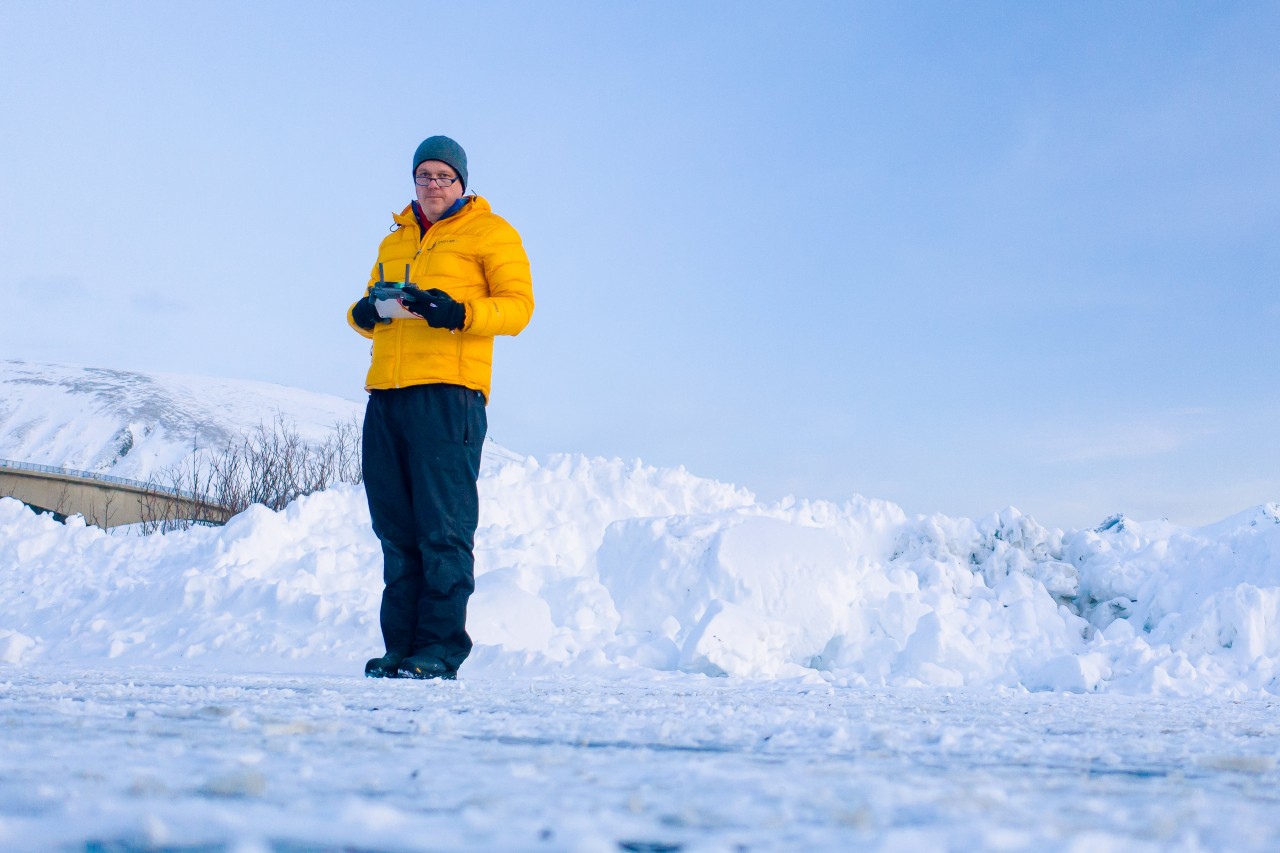
From "A" Like Accessories to "W" Like Warm Winter Gloves - The Perfect Photo Equipment for Your Polar Light Adventure
Preparation is everything. Therefore, it makes sense to think in advance about the necessary equipment that is needed on site. Although the Gulf Stream along the Lofoten provides a reasonably moderate climate, warm clothing is at least as important as the right photographic equipment. After all, the well-known wind in Lofoten can make you feel the felt temperature much lower than the actually measured one. Speaking from experience, warm hands and feet are essential if photographing the northern lights at night is to become an absolute pleasure.
Which Lens to Bring to the Lofoten Islands?
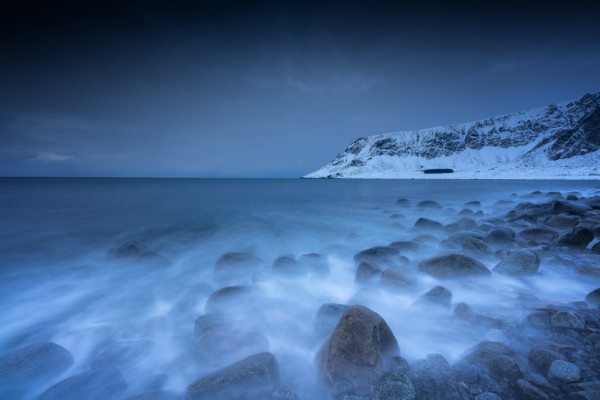
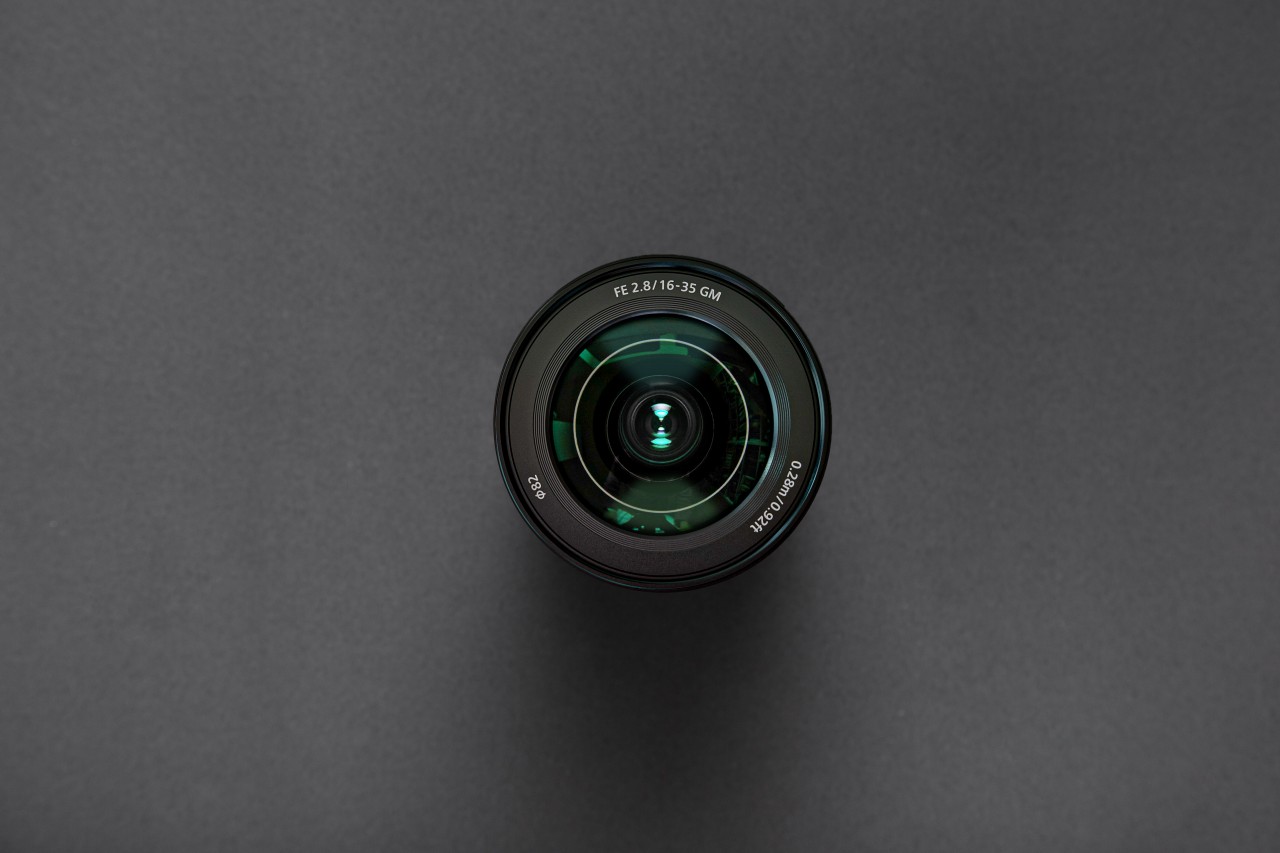
First of all: there is no such thing as THE lens for Lofoten islands. During the day, a wide-angle lens is the best choice in most cases. With, for example, a 16-35 mm focal length zoom lens you can also create exciting images.

For long time exposures, the use of a filter system is definitely recommended. With a neutral density filters (ND) longer exposure times can be achieved, creating soft and picturesque looking skies and water surfaces. If you mainly want to compensate the exposure above the horizon, it is best to use a graduated neutral desnsity filter (GND). The use of a circular polarizing filter (CPL) can also make a big difference. With your CPL you may remove reflections such as those from water surfaces and you can also enhance the contrast and saturation of some elements, e.g. the sky.
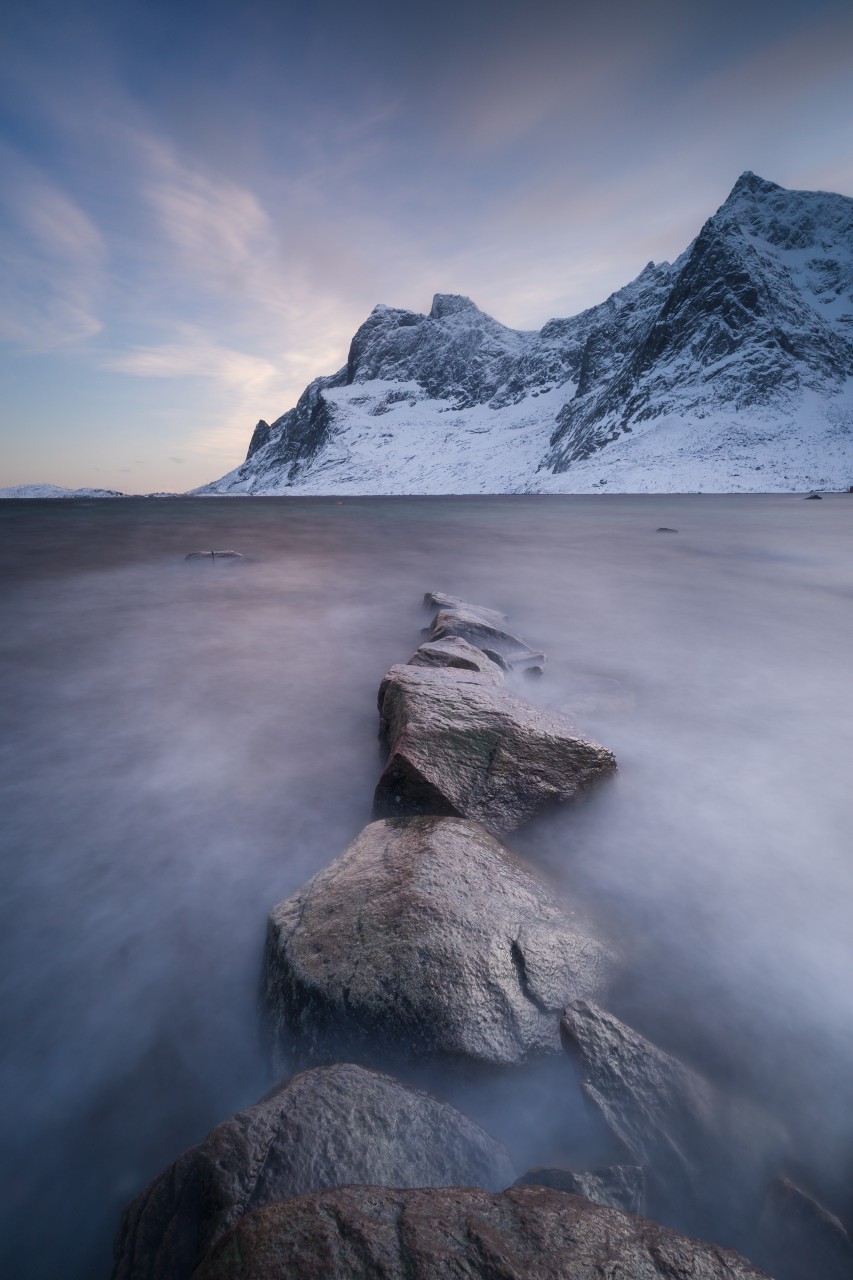
If I want to capture the distant mountain ranges of the staggered fjords, I like to visually compress them by using a telephoto focal length.
With a tele lens in your hand you can easily capture wild animals, too. On the Lofoten you can meet large colonies of sea eagles circling in the air. In the fjords of Lofoten, especially in the area around Reine, you can also see orca whales hunting for herring.
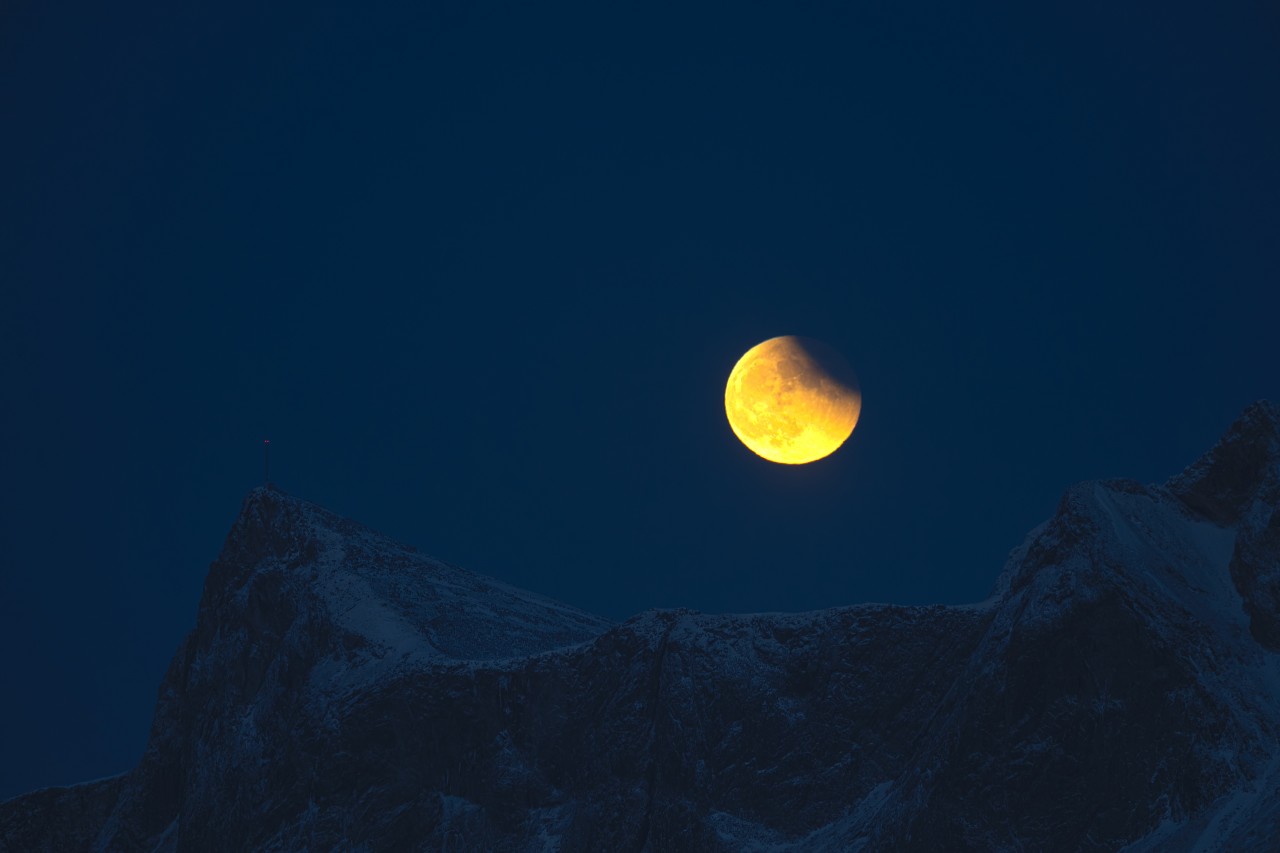
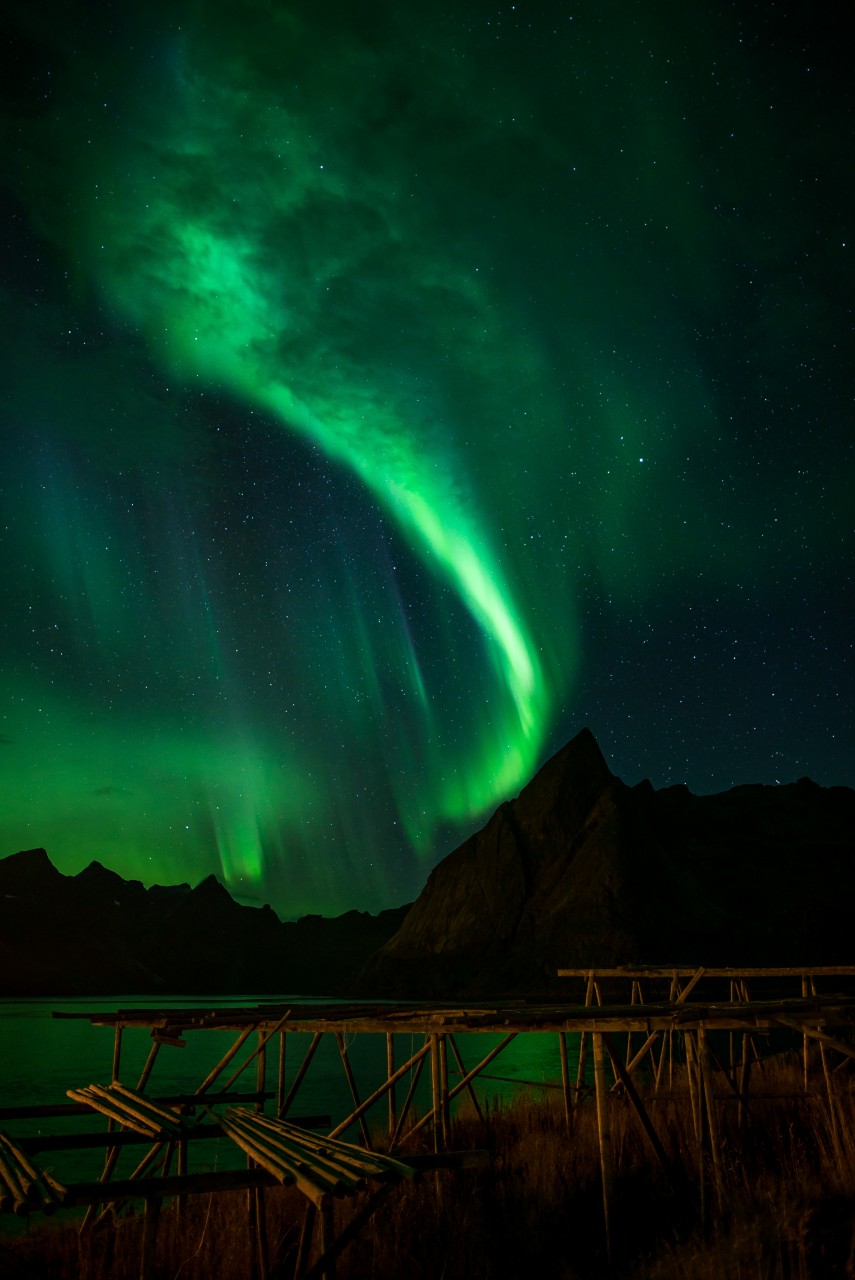
At night, when hopefully the northern lights are dancing in the sky, the wide-angle lens is again the weapon of choice in order to capture a large section of the sky. It is also important to use a fast lens (f/2.8 or higher). If the exposure times are too long, the northern lights would get blurred out and the stars would turn from dots into strokes.
Quick tip: Don't Forget to Charge the Batteries!
At cold temperatures batteries discharge much faster. Therefore, you should always have sufficient replacements with you. If you warm up the backup batteries with a Multiwarmer in your jacket pocket, they will last much longer!
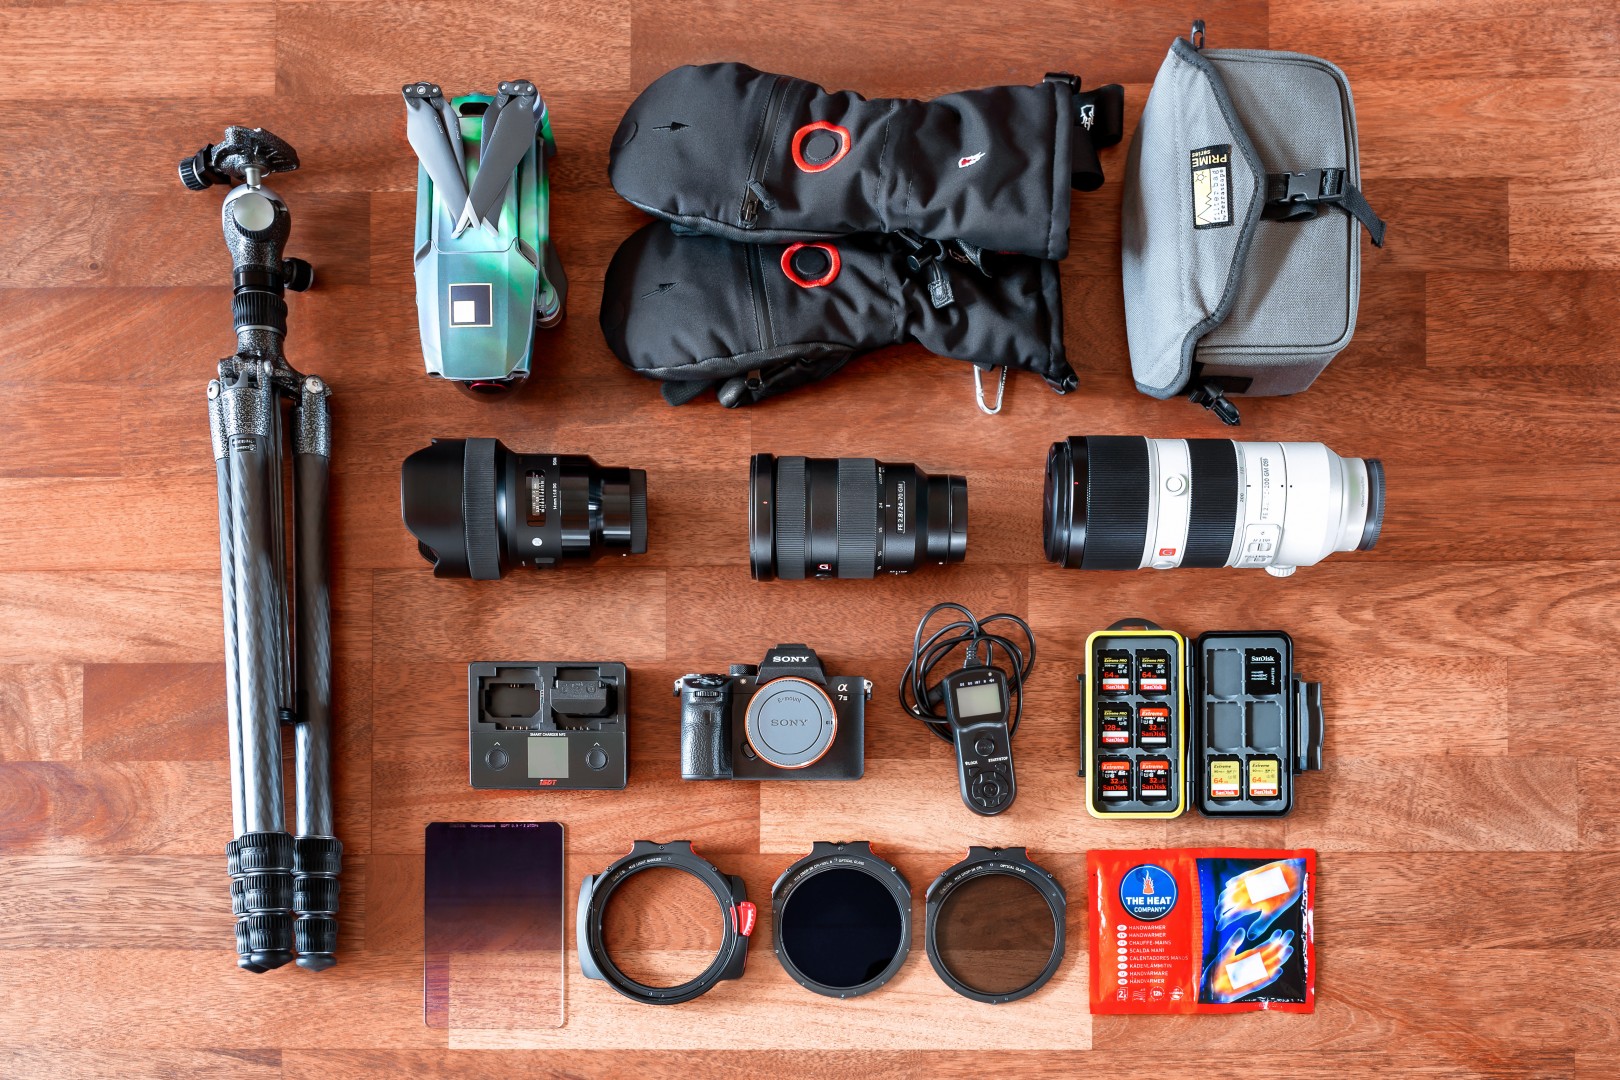
The Complete Gear List for Your Lofoten Trip
In this section you will find everything you need to take with you on your trip to Lofoten.
- Camera -I use different models of the A7 and A9 series from Sony.
- Lenses -As wide and bright as it can get for the aurora borealis. I use the G-Master series from Sony or Loxia lenses from Zeiss. These manual fixed focal lengths are very compact and have a great aperture for creating lens flares.
- Telephoto focal length - Truly a heavyweight, but still crucial for special cases and everything that is not a landscape shot.
- Memory cards - For SD cards, high reliability is important. This is why I prefer the manufacturer SanDisk or the waterproof TOUGH series from Sony.
- Filter system - Polarizing filter, gray filter and gradient filter. I recently switched to the newly developed M10 system from Haida with the drop-in filters.
- Batteries - Also bring backup batteries together with Multiwarmers for keeping them warm.
- Tripod - As stable as possible but still light.
- Timer remote control - A must for long exposures.
- Microfibre wipes - For cleaning lenses, filters and displays.
Warm Clothes for Cold Nights and Extra Warm Photography Gloves
Those who wait for hours for the northern lights on long, cold nights should be absolutely warmly dressed. I recommend the layer principle, starting from the base layer clothing up to the warm upper layer gloves.
- Base layer: Long underwear and socks made of merino wool isolate and extract moisture
- Warming layer: Top clothing made of wool or fleece provide warmth and are also breathable, warm trousers are also a must
- Outer layer: Wind- and waterproof jacket and trousers
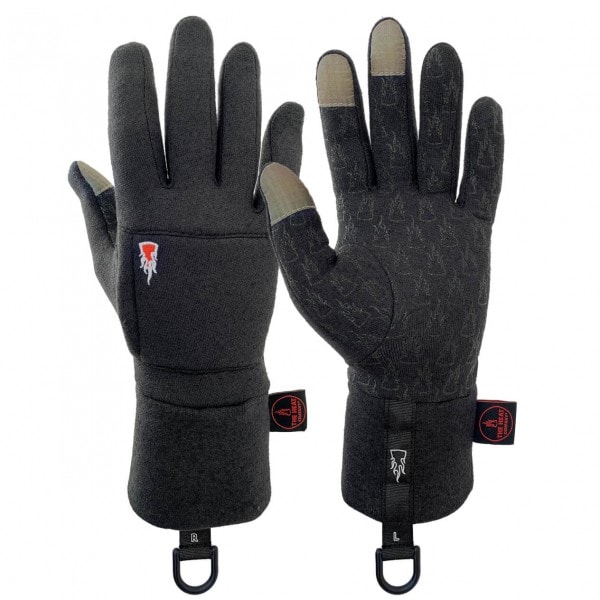
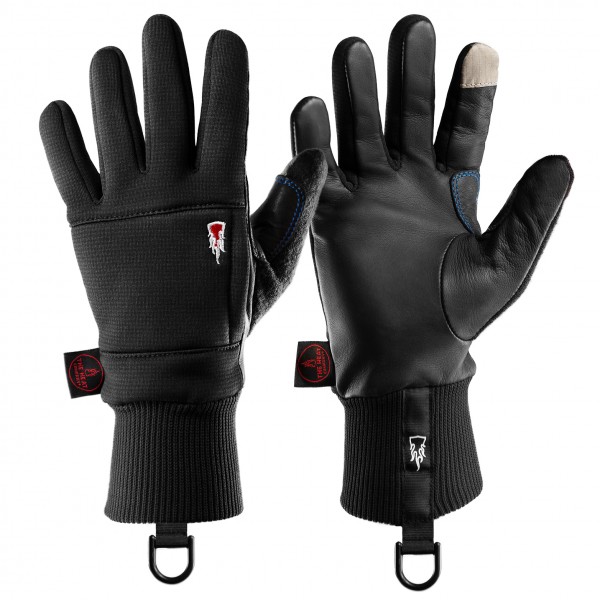
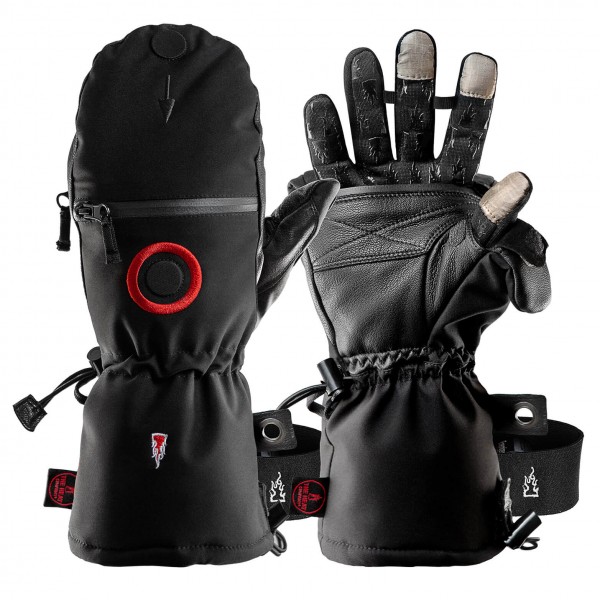
- Winter gloves for photographers: The modular HEAT LAYER SYSTEM works similar to the layer clothing principle. The first layer is the touchscreen LINER. As a second layer you wear a warm mitten with a fold-back mitten flap. The last layer is a wind- and waterproof cover glove.
- Warming pads: For hands and feet, as well as shoulder and back warmers
- Winter shoes: With insulating sole and good grip. Alternatively equipped with cork insoles for additional insulation
- Spikes for the shoes: As stable as possible
- Headgear: Warm and windproof, additionally a balaclava
When, Where and How Do I Shoot the Northern Lights at Best?
If you are travelling north to see the long awaited northern lights, you should plan several days. Also research 2-3 favourite locations in advance. Northern Lights are a natural phenomenon that cannot be predicted 100% - patience is often required! If the sky is clear and the predicted KP index (an index of geomagnetic activity that indicates the probability of aurora borealis occurrence) is high, the chances are good. In that case I already have my equipment packed and I don't lose any time.
When I go hunting for aurora borealis, it is usually from around mid January. The sun is above the horizon for the first time again. The sunlight of dawn and dusk is incredible and lasts for several hours in that period. In the afternoon there is time to rest and gather strength. And during the nights the weather is on average more stable than at the end of the year. What means you can quite often hope for a starry sky.
What Are the Top Spots for Northern Light Photography?
In my opinion the best locations are all easily accessible by car:
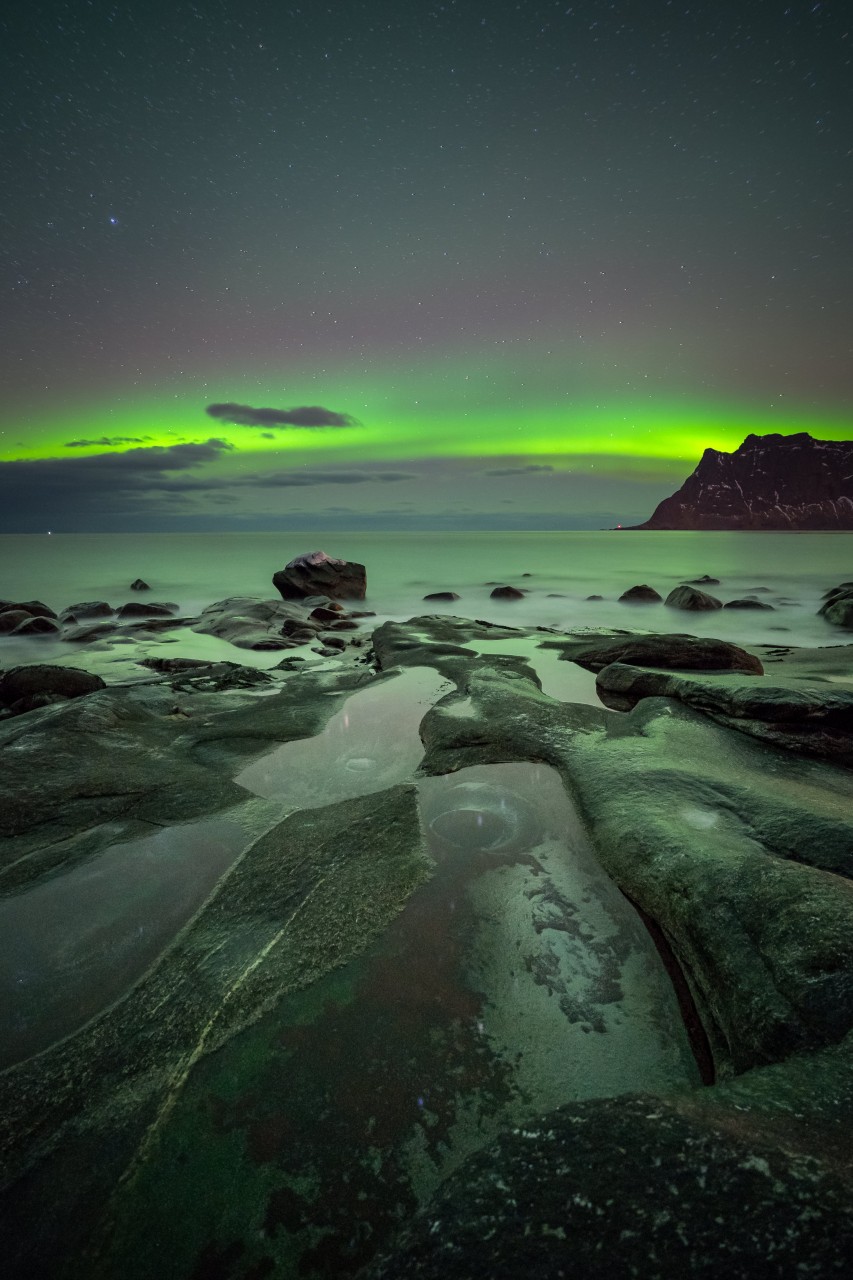
- The beach of Skagsanden is particularly suitable as a starting point. It is located exactly in the middle of the road between Leknes and Reine. The beach and the striking mountain scenery create a perfect foreground and the dancing northern lights are often reflected in the shallow water. Perfect ingredients for a successful aurora borealis shot!
- Around the parking bays of Haukland (near Leknes) you usually meet other patiently waiting aurora borealis photographers and not without reason. Due to the geographical position the aurora borealis is especially visible here. The striking rock formations provide a spectacular foreground as well.
- Only separated by a tunnel the beach of Uttakleiv offers further possibilities to compose atmospheric northern light photos.
- An insider tip is the beach of Storsandnes, which is located on the road to the beach of Myrland. The view to the northeast and a curved sandy beach make this location very attractive.
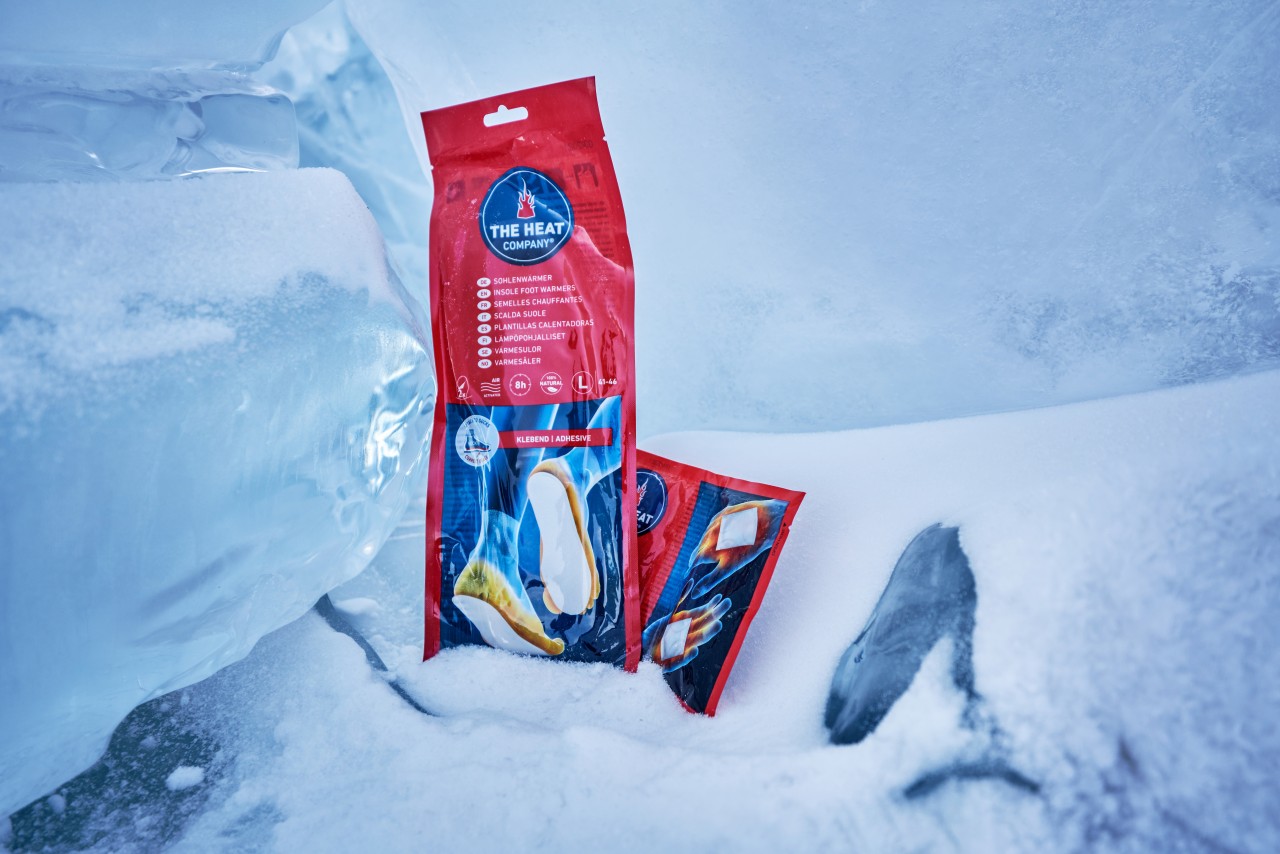
If you have to wait for hours at night for the right time, you need a lot of patience and warm shoes! Insole warmers are a real blessing here. They fit in every shoe and keep you warm for hours. Cold feet have already spoilt the pleasure of aurora photography for many of my workshop participants, even though this could have been avoided so easily!
The Right Camera Settings for the Aurora Borealis
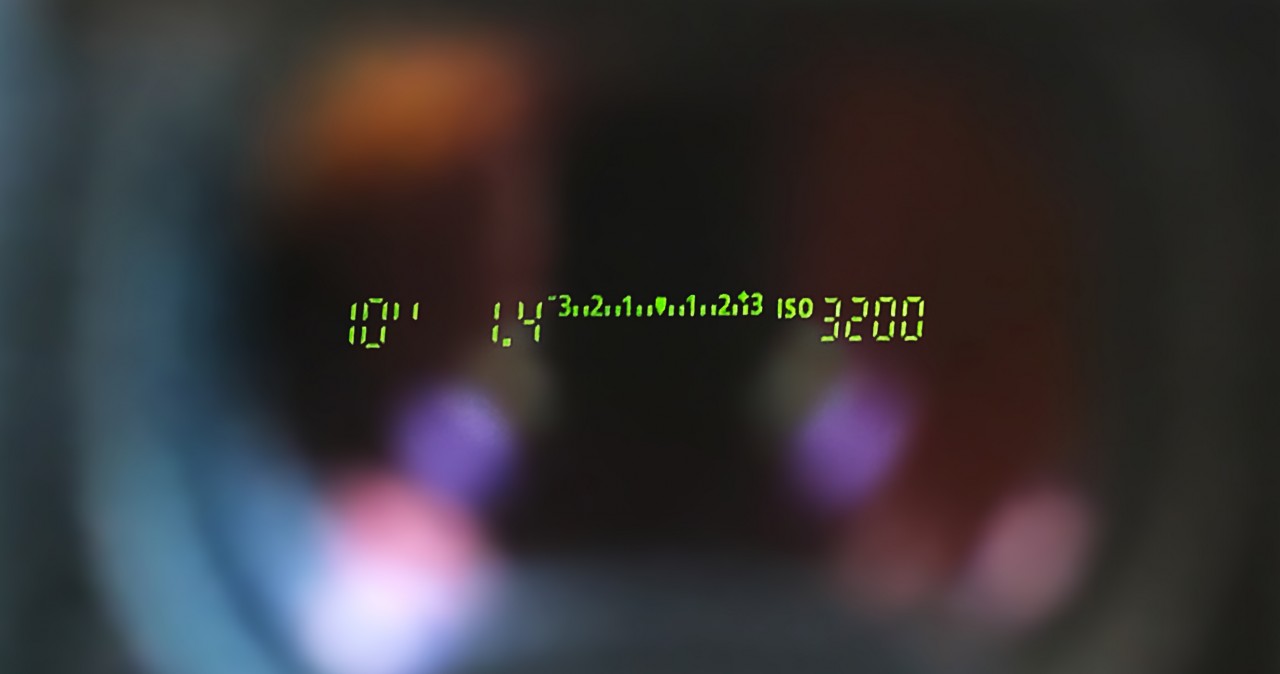
When it comes to camera settings, I usually recommend following settings: Exposure time of about 10 seconds at ISO 3200 and wide open aperture. It is also important that the focus is set correctly. In the dark night, automatic focusing rarely works. When focusing manually, look for a bright point on the horizon, e.g. a bright star. Once the first image has been taken, it is essential to check the exposure using the camera's histogram function. The images often appear much brighter on the brightly lit display of the camera in the dark night than they actually are. Therefore, it is better to check regularly and adjust the amount of incoming light using the ISO, exposure time and aperture settings.
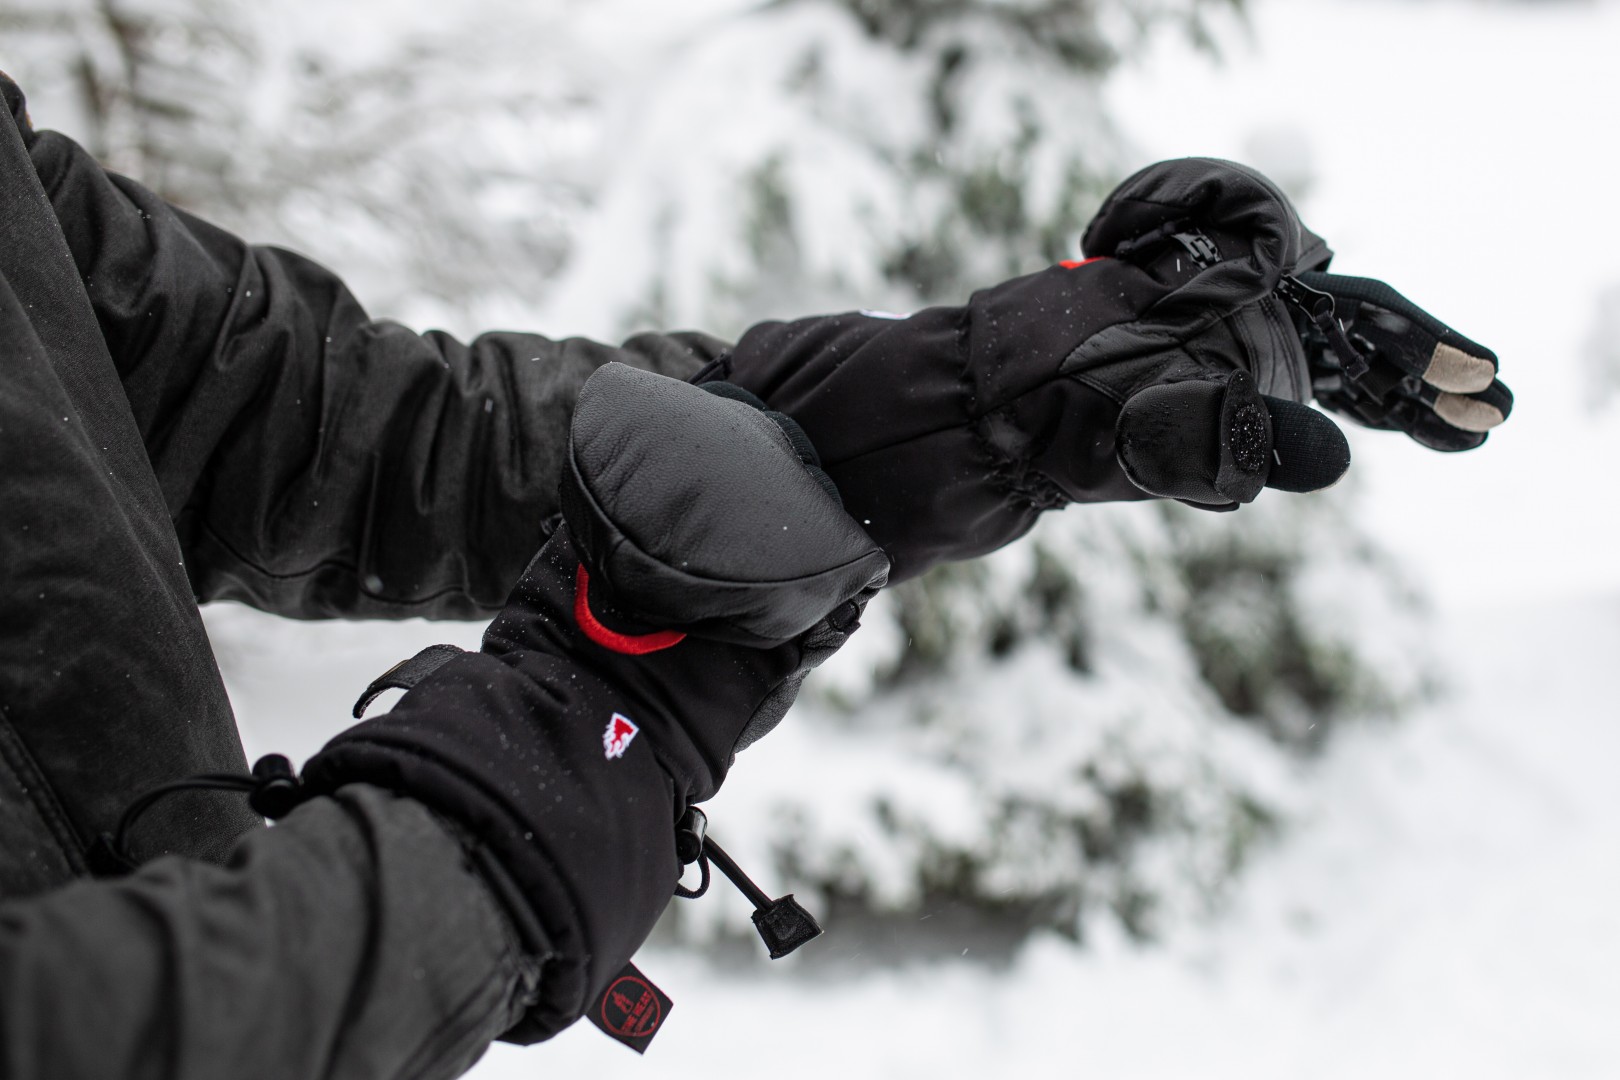
As you have to adjust the settings on the camera again and again while taking pictures on a cold night, choosing the right gloves is essential. I absolutely trust on the LAYER SYSTEM from THE HEAT COMPANY. The advantages of the gloves are obvious. During the long hours of waiting the mitten stays closed and warm. When the green lights appear in the night sky, you fold back the mitten flap and you can easily operate the camera with gloves on thanks to their touchscreen function. The Handwarmers, which can be inserted into the extra pocket on the back of the hand, provide additional warmth. So nothing stands in the way of taking wonderful aurora borealis pictures.
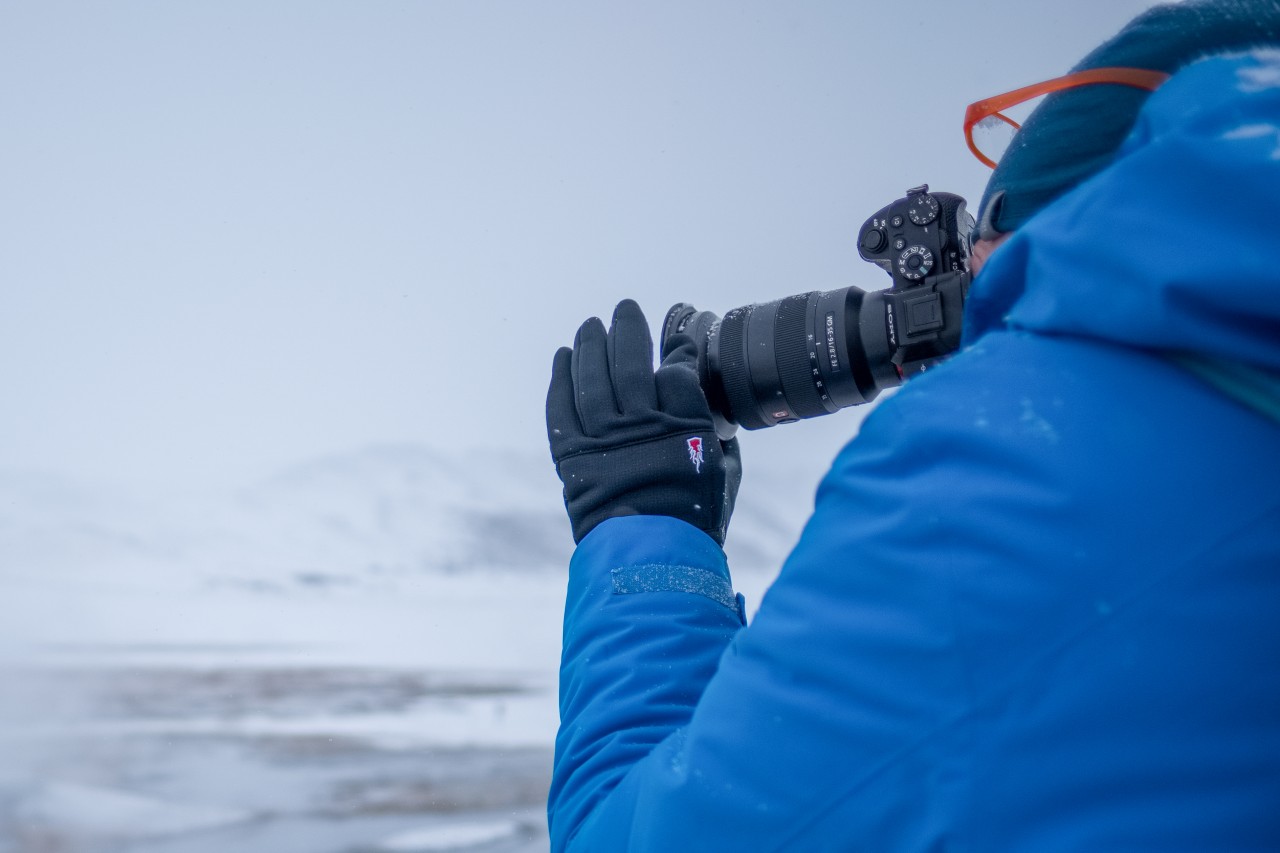
Jens' tip: Live the Moment
From time to time I take a little photo break to enjoy and admire the green lights in the night sky without any distractions.
No Photo Journey Without the Right Apps on Your Mobile Phone
Apps have become an integral part of the photographers' everyday life. Here are my top 3 apps, which make the successful hunting of the northern lights easier:
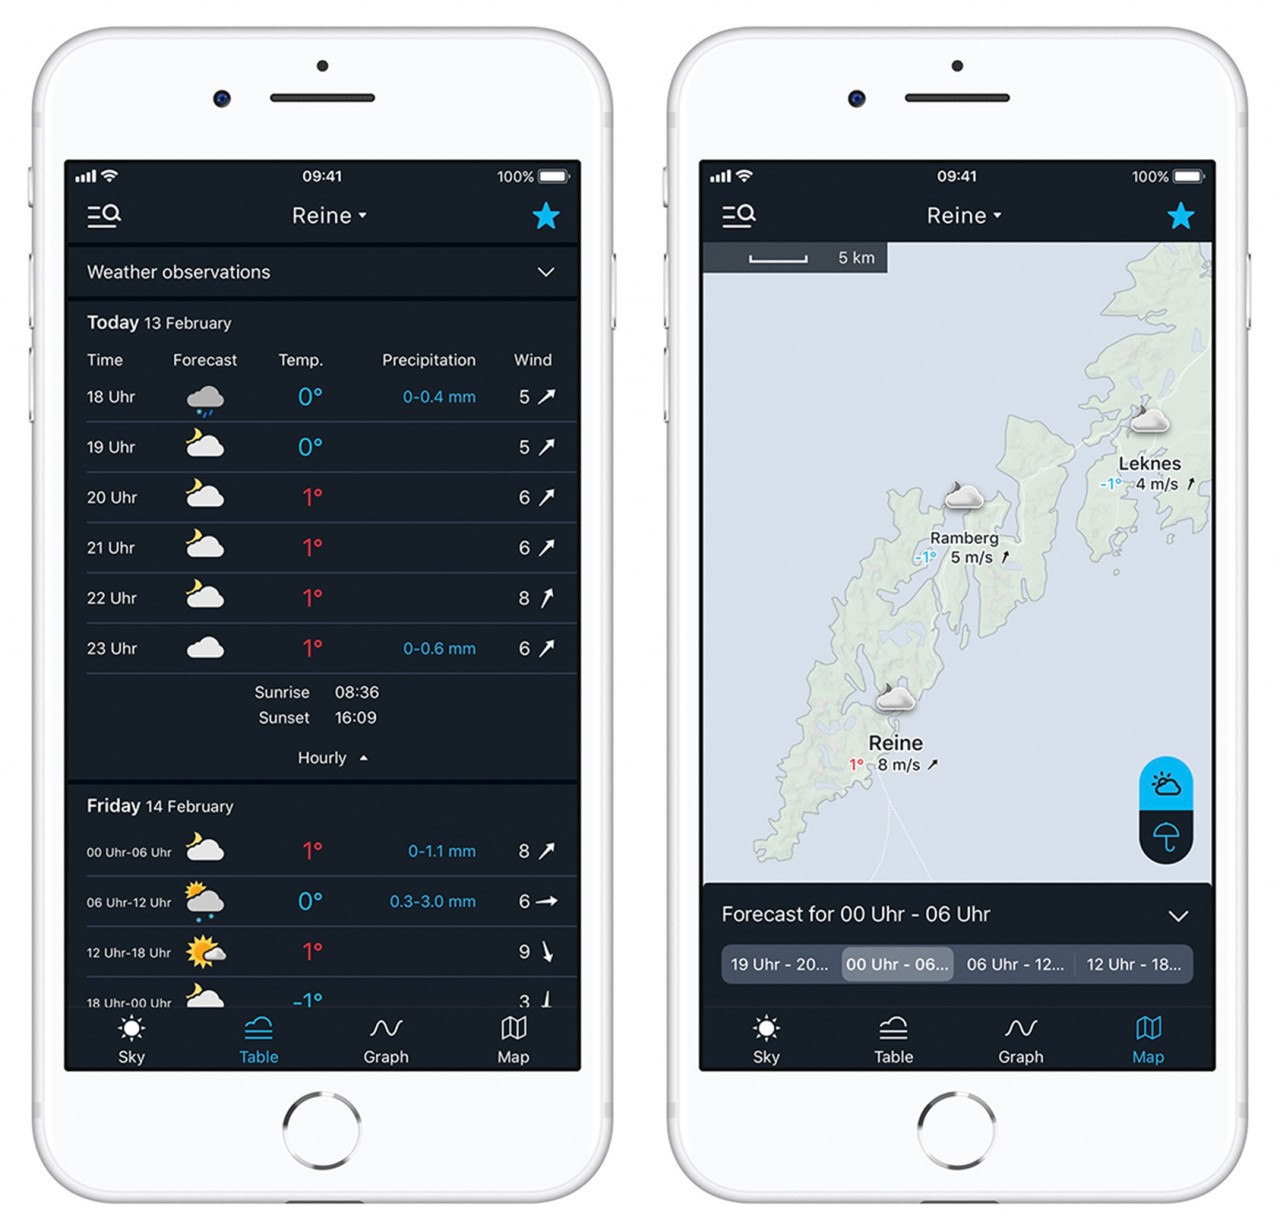
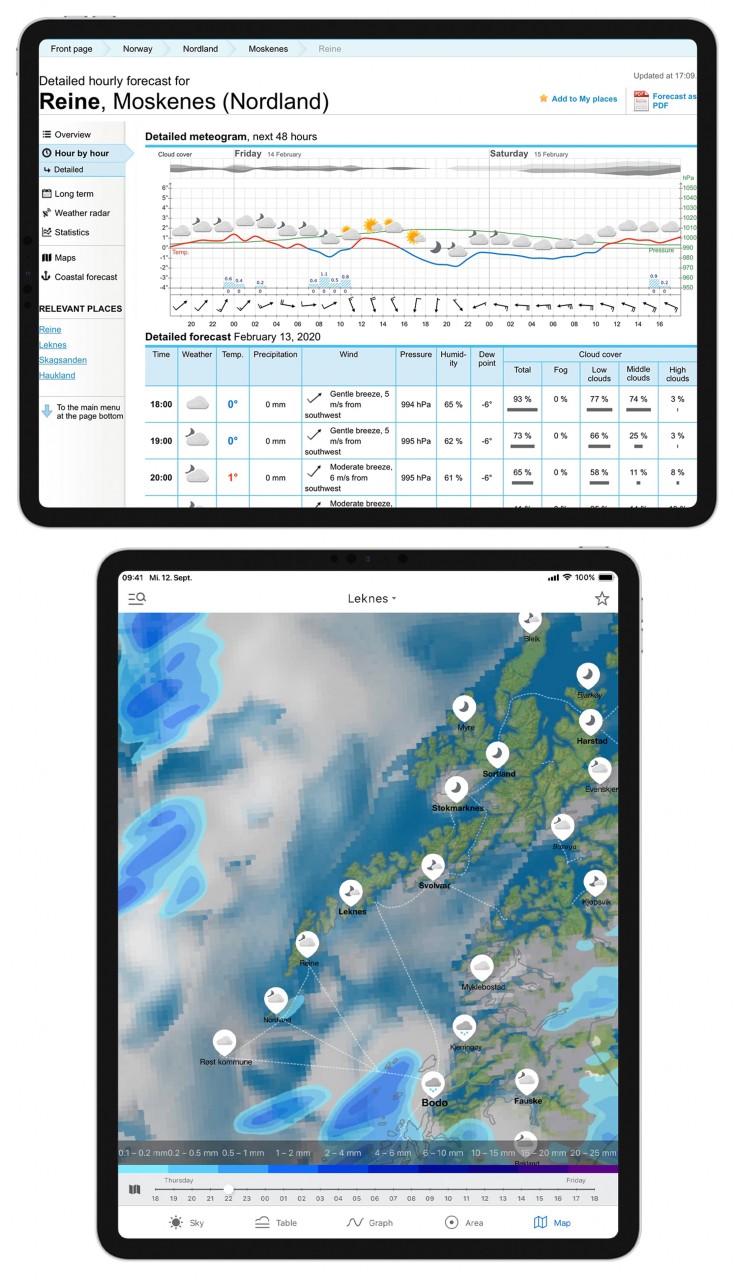
- For the weather forecast (especially for the cloud forecast), I use the app of the norwegian weather service yr.no.Here you can find detailed forecasts for low, medium and high cloud movements. The information is quite reliable and gives a first indication where a cloudless sky is most likely. The app is also free and developed for Android as well as for iOS.
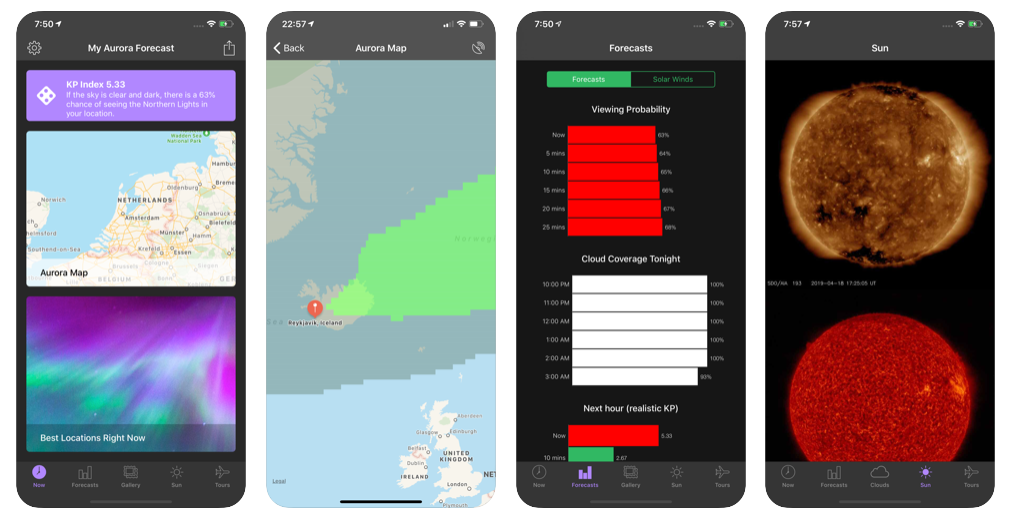
- My Aurora Forecast is in my opinion the best app when it comes to the actual auroral forecast. With the help of the so called KP-Index you get a good feeling if Aurora Borealis can be expected. All KP values greater or equal 3 are very good. But aurora borealis can also occur at lower values. You can also find this app for free for Android and iOS.
- I do my general planning with The Photographer’s Ephemeris. The app shows all relevant times for sunrises and sunsets as well as the angles at which the sun rises and sets. In the 3D version, even the incident sunshine on the mountain scenery can be simulated in advance. This app has to be purchased for Android or iOS, which is not really surprising considering the wide range of functions.
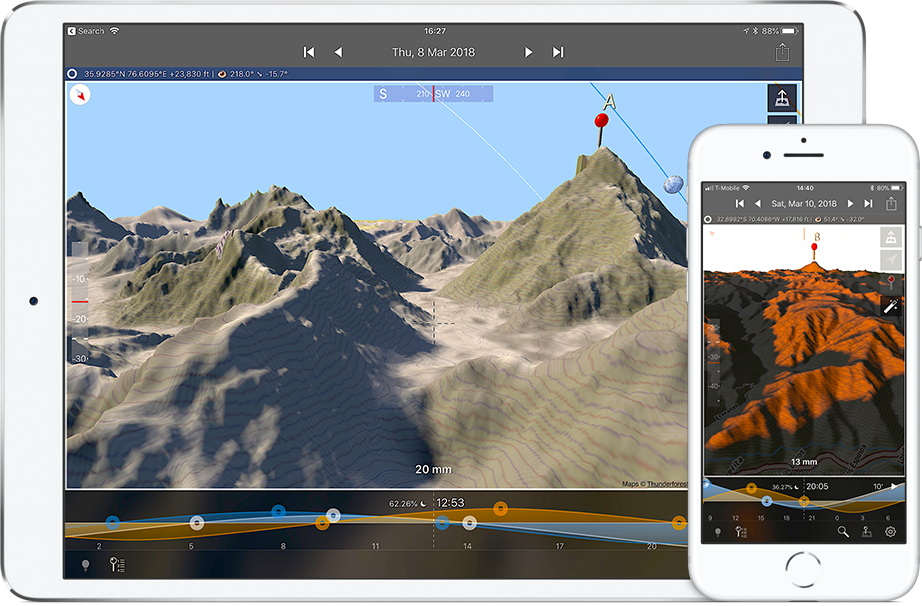
When operating the apps on the smartphone, it is particularly important that the gloves have touchscreen functionality. For this purpose I recommend liners such as the WIND PRO LINER or the MERINO LINER PRO. In combination with a SHELL glove from THE HEAT COMPANY they provide the perfect dexterity and protection against the cold and wind.
Lofoten - Unique Motives by Day and Night
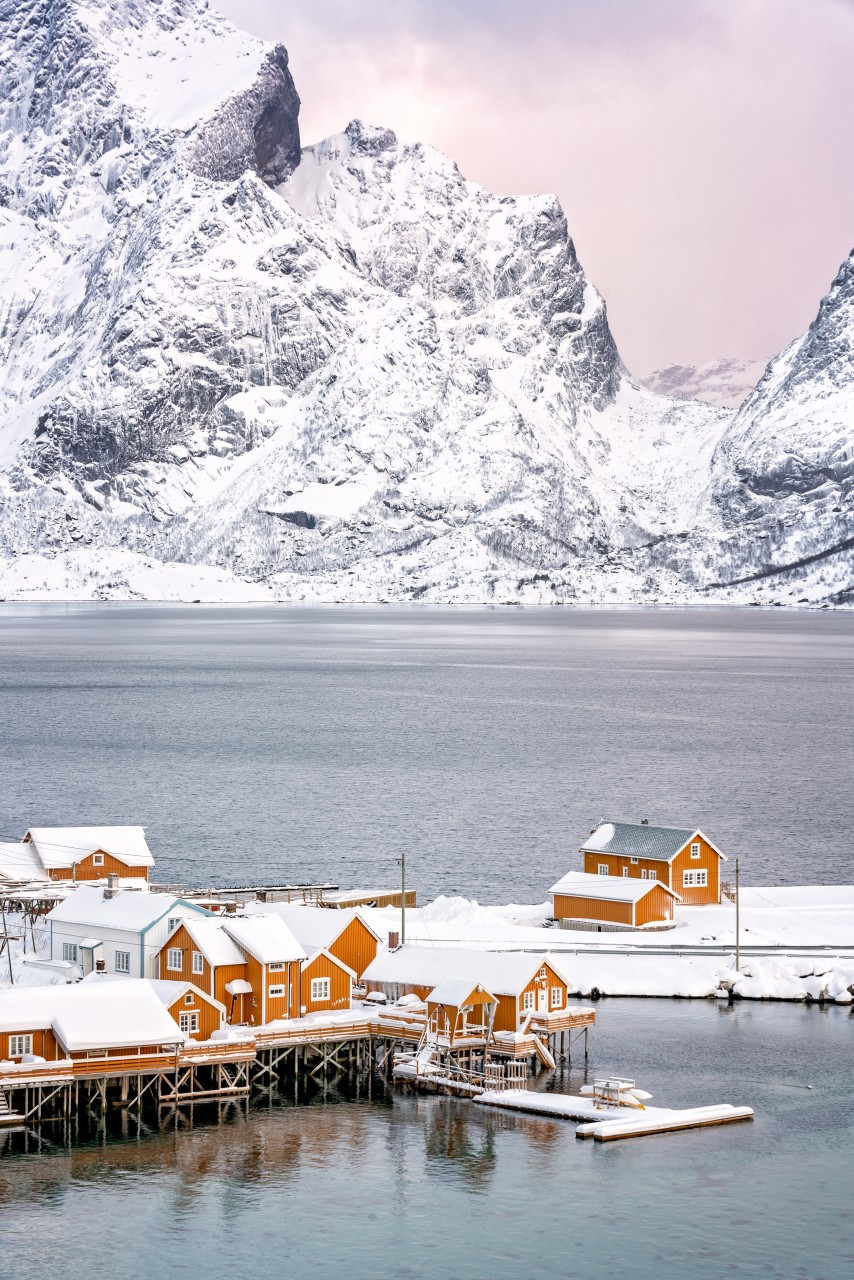
Lofoten is also a paradise for landscape photographers by day. The combination of deeply incised fjords and steeply rising mountains is overwhelming. Behind every bend a new and surprising motif awaits the visitor, which under changing light conditions always presents itself in a different and new way. The traditional, red-painted fishing huts are a kind of trademark of the archipelago. They can also be photographed in many different ways.
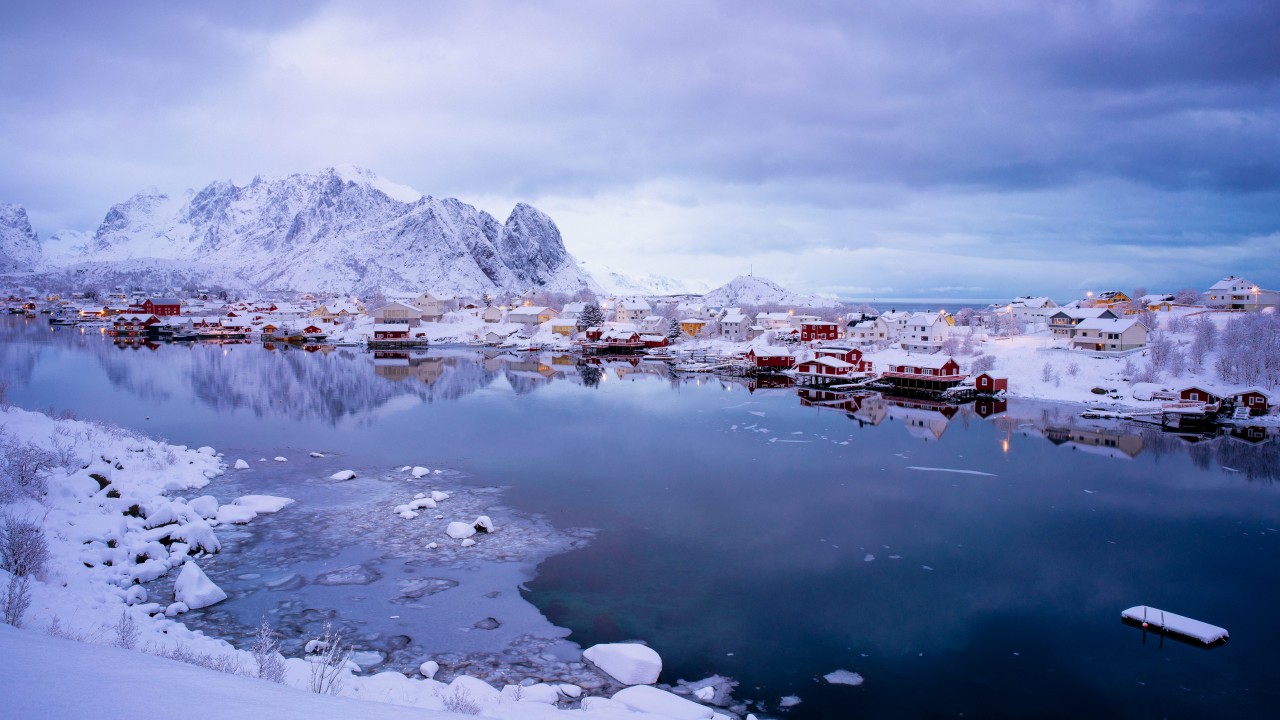
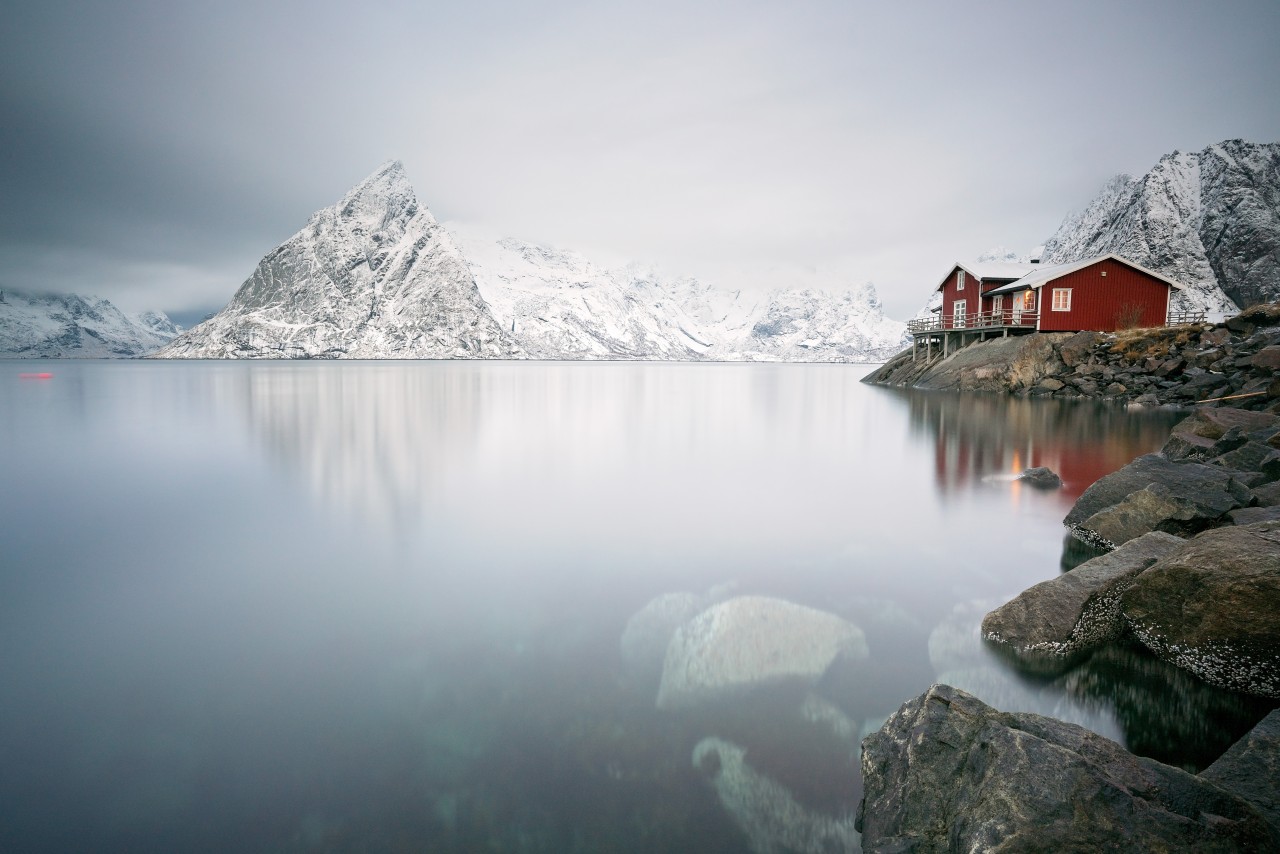
My highlights during the day are the many photo motifs around the picturesque fishing village Reine in the south of Lofoten - there is always something new to discover.
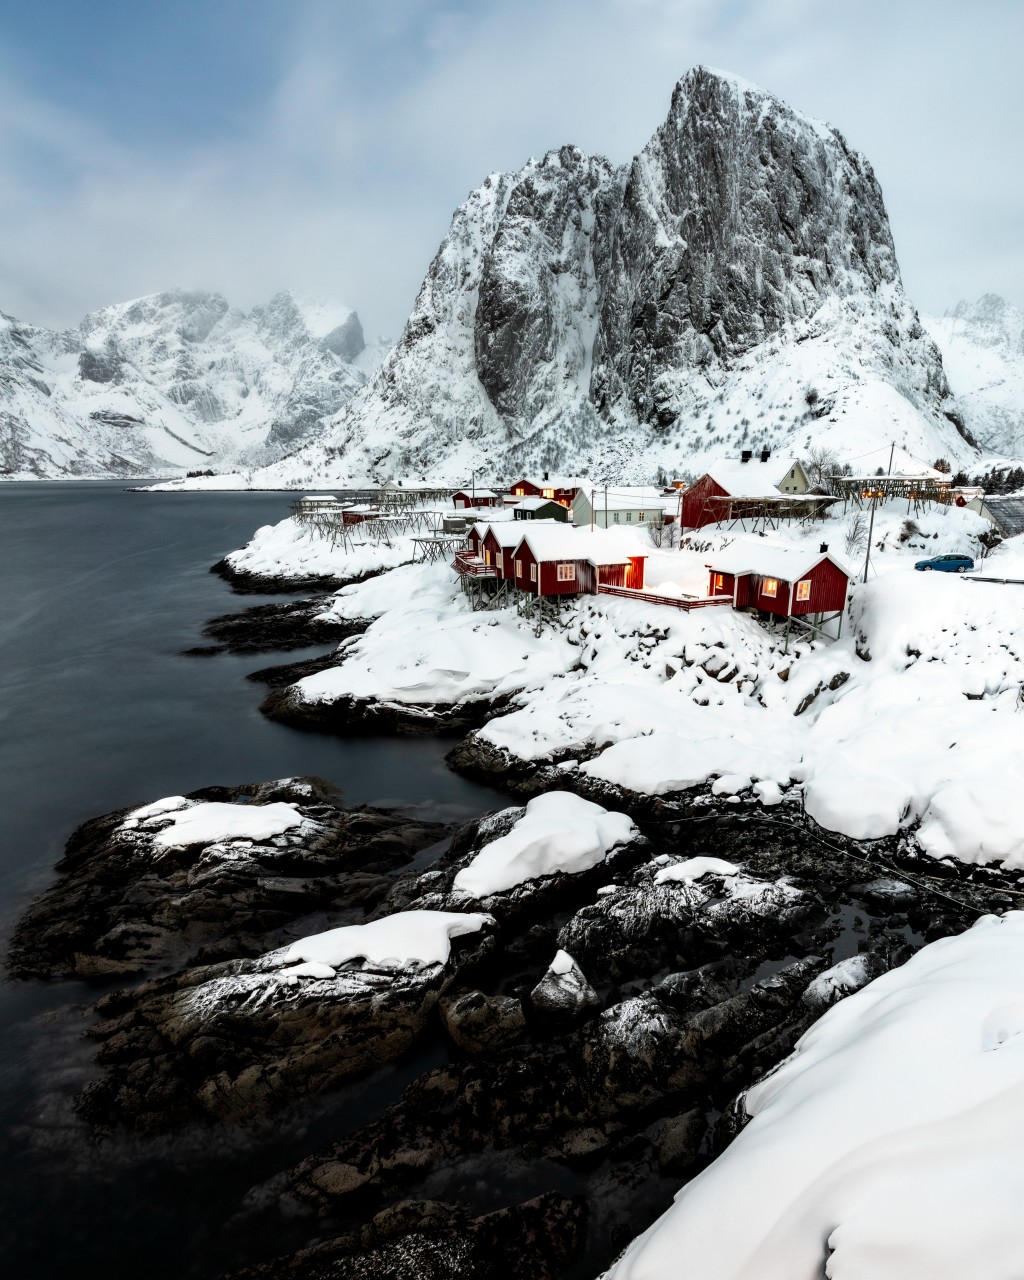
Also the white beach church of Gimsøy further north is photogenic from different perspectives and can always be portrayed in a new exciting way.
I also visit the beaches of Haukland, Uttakleiv and Unstad during each of my workshops. If weather conditions permit, I highly recommend a hike to one of the surrounding peaks. The panorama from Reinebringen is unique, but also the view down from Ryten, 1781 feet high, to the beach of Kvalvika is breathtaking.

About the Author:
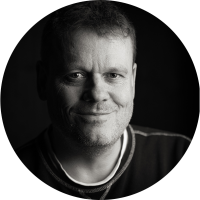
Jens Klettenheimer was born 1967 in Karlsruhe. He works as a photographer at schiefLicht Photography. His great passion is landscape photography in Nordic countries. Since 2014, the autodidact offers international photo workshops mainly in Iceland and the Lofoten Islands. His natural landscape images are regularly published in various online and print media. Together with his family and two Dalmatians, the studied technomathematician lives near Heidelberg, where he works full-time for a software company. More photos and information about his workshops can be found at schieflicht.de. His photo book Lofoten fotografieren: Im Bann des arktischen Lichts (German Edition) was published by dpunkt.verlag in 2018. The richly illustrated, compact book fits in every photo backpack and contains a variety of other tips and tricks on the subject.

